NDT and Destructive Testing: If We Build It, We Will Test It
As part of our quality assurance process, CanForge offers several testing measures to guarantee that our forgings meet customers’ standards. We examine our forgings using two methods – non-destructive testing (NDT) and destructive testing – to ensure they are free of any flaws that can compromise their integrity. Whether the forgings are made of stainless steel, aluminum, or titanium, these tests are our assurance that the products will hold up well for the purpose in which they’re designed.
Read on to learn more about the specific tests we offer, and the different types of specifications we can meet.

Non-Destructive Testing
Non-destructive testing is the process of determining if a forging is free of defects or mechanical flaws by using non-invasive methods. This type of testing is cost-effective because it does not require an additional piece to be forged for examination. Rather, the original product undergoes a series of mild tests that do not cause damage or compromise its structure. CanForge provides our customers with the results of NDT when the products are delivered in order to verify specifications.
We offer the following NDT services:
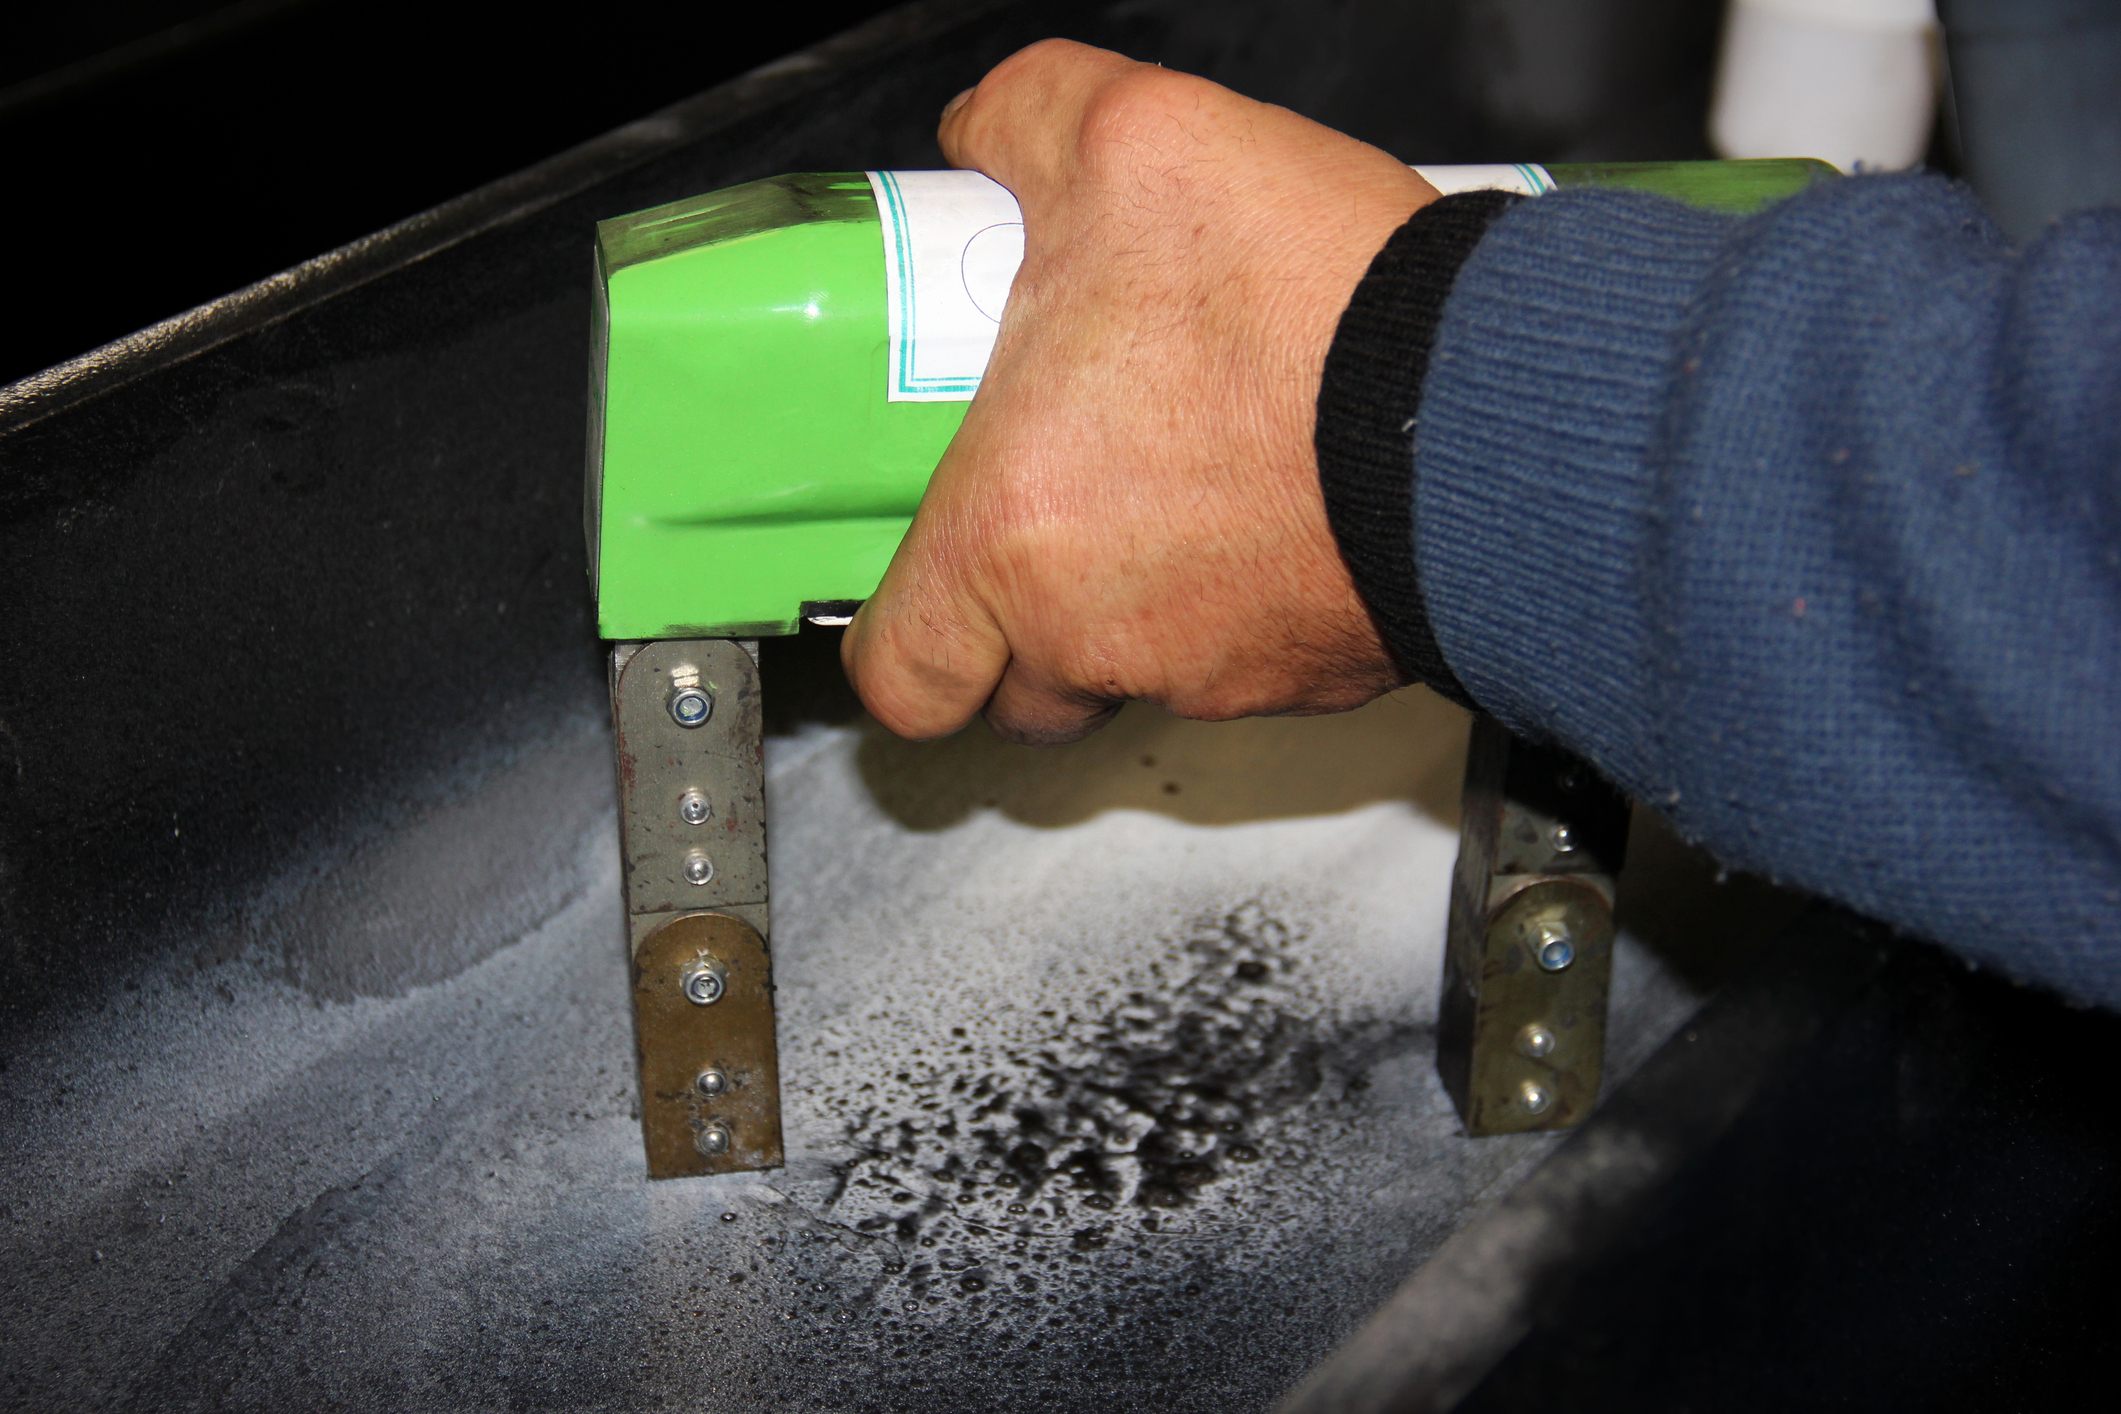
- Magnetic Particle Testing: This type of testing is used to determine if there are cracks in the forging. During the test, the forging is magnetized in order to apply tiny iron particles that will build up in any areas where the magnetic field is distorted.
- Ultrasonic Testing: Ultrasonic testing is a non-invasive method where high frequency sound waves are used to determine any defects in the forging. This highly accurate type of testing is often used to detect discontinuities that are located deep in the forging’s internal structure.
- X-Ray Testing: X-Ray testing, also known as radiographic testing, uses radiation to record any flaws in a piece of forging. Rays pass through the forging and can determine whether or not there are any voids or variances in density.
- Liquid Penetrant Testing: This method is used to detect problems such as leaks and cracks in the surface of a forging. For this test, the surface of the forging is cleaned before being applied with a liquid penetrant that will seep into any open areas. After cleaning the forging from excess penetrant, a powder is applied onto the surface that will detect any remaining penetrant within cracks.
Destructive Testing
In contrast to NDT, destructive testing involves applying controlled and measured forces to a piece of material until it fails. At CanForge, this type of testing is carried out on a test coupon, an extra forging, or a section of a forged workpiece that was removed from the final product. Although destructive testing costs more than non-destructive testing, it provides more information about the product, and the results are easier to interpret. The results of destructive testing are provided upon delivery of the finished product.
We perform a series of destructive testing that include:
- Stress Rupture Testing: A common type of destructive testing, stress rupture tests determine the length of time for a product to fail. Stress is continually applied to the forging until it ruptures.
- Tensile Testing: Tensile testing measures a forging’s response to tension. Stress is applied by pulling the product, during which factors such as strain and strength can be measured.
- Grain Size Testing: A forging’s grain size can be analyzed to better determine the quality of the product. This testing helps maintain a higher standard of quality control during the manufacturing of the forging.
- Charpy Impact Testing: This method of testing records the amount of energy used to fracture the test piece of forging. The information gathered during a Charpy Impact test can help determine how much energy the material can absorb before it breaks.
- Micro Examination: Using microscopic technology, this examination notes the microstructural properties of a forging not seen by the naked eye.
- Macro Examination: Macro examination assesses the quality of a forging at low magnification to determine how porous it is and if cracks are present.
Forging Specifications
CanForge has extensive experience in meeting different types of specifications required by international agencies and customers alike. Our testing allows us to guarantee that these specifications meet strict safety standards in Canada and the United States.
- ASTM Specifications for Forgings: CanForge meets the international standards of the ASTM, the leading standards organization for many industry sectors. Our products are forged according to these standards to ensure safety, quality and performance.
- AMS Specifications for Forgings: As a supplier of aerospace parts and components, CanForge also meets Aerospace Material Specifications (AMS). AMS specifications are the standard for maintaining quality control in the manufacturing of products for aerospace applications.
- U.S. Military Specifications for Forgings: CanForge also has extensive experience in adhering to military specifications. These specifications were developed by the United States Department of Defense for the production of military vehicles and equipment. In our work with private companies that supply military equipment, we can be depended upon to provide quality products that meet these standards.
- Proprietary Specifications for Custom Steel Forgings: We are also able to meet independent specifications based on your company’s custom needs. No matter the application, we can follow your internal specifications or your customer’s requirements.
Contact us to learn more about why CanForge is the best choice you can make for your industrial forging needs.
